How Documents Work in BuilderPal
How Documents Work in BuilderPal
Summary
This tutorial covers creating folders and uploading documents within a BuilderPal project, enabling efficient organization and management of project-related files to streamline collaboration and access.
Prerequisites
- A BuilderPal account with active login
- An existing project in BuilderPal
Steps
-
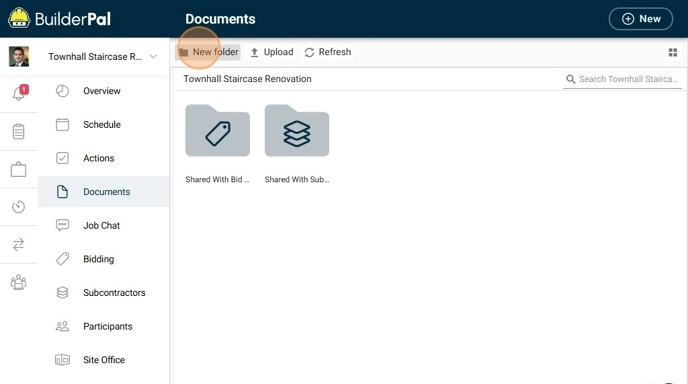
Open BuilderPal. Click on a Project. Click "Documents".
-
Click "New folder". Click the "Enter folder name..." field. Type the name of the folder (ex. "Blueprints"). Click "Create".
-
Double-click the folder "Blueprints". Click "Upload". Click "Add files from device...". Choose a file from your device (ex. "Townhall-Staircase-Blueprints.pdf"). Click "Upload".
Confirmation
The uploaded file appears in the folder list, ready for access or sharing within the project.
FAQ
Can I create subfolders within a folder?
Yes, repeat the folder creation steps inside an existing folder to organize documents hierarchically.
What file types does BuilderPal support for upload?
BuilderPal supports common file types like PDFs, images, and documents; check the upload dialog for any restrictions.
How do I rename a folder after creating it?
Click the options menu next to the folder name and select "Rename" to update it.
What happens if my upload fails?
Ensure a stable internet connection and that the file size is within limits; try uploading again or contact support if issues persist.
Can I delete uploaded documents?
Yes, select the document, click the options menu, and choose "Delete" to remove it from the folder.
Related Articles
- How to Create a Project
- Managing Project Settings
- Sharing Projects with Your Team
- BuilderPal File Security Overview
- Uploading Photos to Projects
Metadata
Relevant Roles: Builder, Project Manager, Team Member
Feature Area: Documents
Article Type: Workflow / Tutorial