How Documents Work in BuilderPal
Summary
Learn how to organize and upload files in BuilderPal using folders. This keeps all your project documents (blueprints, contracts, photos, etc.) neatly structured and easy to find.
Prerequisites
- An active BuilderPal account
- At least one existing project
Steps
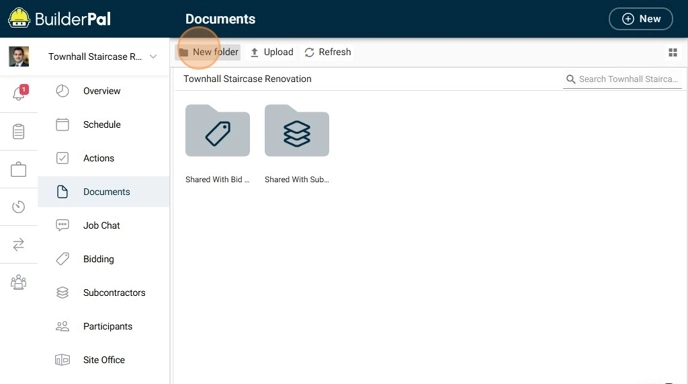
-
Open BuilderPal, select a project, then click Documents.

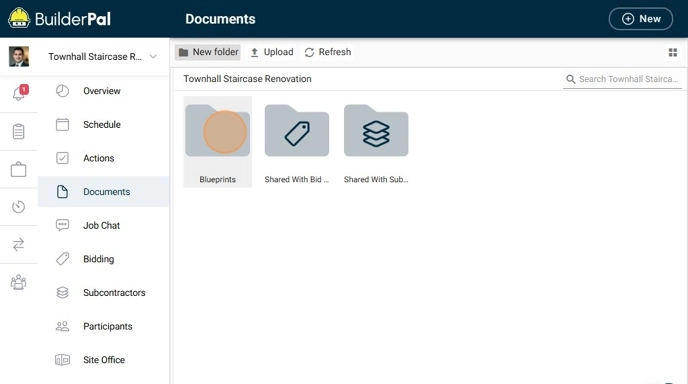
-
Create a new folder — Click New folder, type your desired name (e.g., "Blueprints"), then click Create.
-
Upload files to the folder — Double-click the "Blueprints" folder, click Upload → Add files from device…, select your file (e.g., Townhall-Staircase-Blueprints.pdf), then click Upload.
Confirmation
Your file instantly appears inside the selected folder and is immediately accessible to everyone on the project.
FAQ
Can I create nested folders (subfolders)?
Yes – open any existing folder and repeat the New folder process inside it.
What file types and sizes are supported?
BuilderPal accepts PDFs, images (JPG/PNG), Word/Excel files, and most common formats. Individual files can be up to 20 MB.
How do I rename or delete a folder?
On mobile, long-press a folder and choose Rename or Delete. On web, right-click a folder and choose Rename or Delete.
Can team members see the documents I upload?
Yes – all documents are visible to every member invited to the project.
Is there a way to preview files without downloading?
Most PDFs and images can be previewed directly in BuilderPal by clicking the file name. Other file types must be downloaded in order to preview.
Related Articles
- How to Create a New Project
- Inviting Team Members to a Project
- Managing Document Permissions
- Best Practices for Organizing Project Files
- Uploading Site Photos and Daily Logs
Metadata
Relevant Roles: Builder, Project Manager, Superintendent, Team Member
Feature Area: Documents
Article Type: Workflow / Tutorial