Finance Center
Create your Estimate
Summary
This tutorial covers how to create and manage estimates in BuilderPal to plan project costs effectively. Accurate estimates help in budgeting, resource allocation, and ensuring project profitability.
Prerequisites
- An active BuilderPal account.
- An existing project or create a new one in BuilderPal.
- Access to the Site Office section.
Steps
-

Navigate to the Estimate section. Go to app.builderpal.com, create a new project or select an existing one (e.g., "Middleschool Staircase Renovation"), then click Site Office followed by Estimate.
-

Edit the estimate name. Click the edit icon in the "Selected Estimate" card, enter the desired name (e.g., "Estimate Draft"), and click Save.
-

Create a new estimate if needed. Click Change at the top, select Create, enter the name (e.g., "Estimate For The Future"), click Save, then click Select Estimate to switch to it.
-

Add a cost item. Click Add Cost Item, select a cost code (e.g., "Carpentry"), and click Next.
-

Enter cost item details. Provide the title (e.g., "Carpenter Tools"), amount (e.g., "$1000"), markup amount (e.g., "15%"), and other relevant fields, then click Save.
-
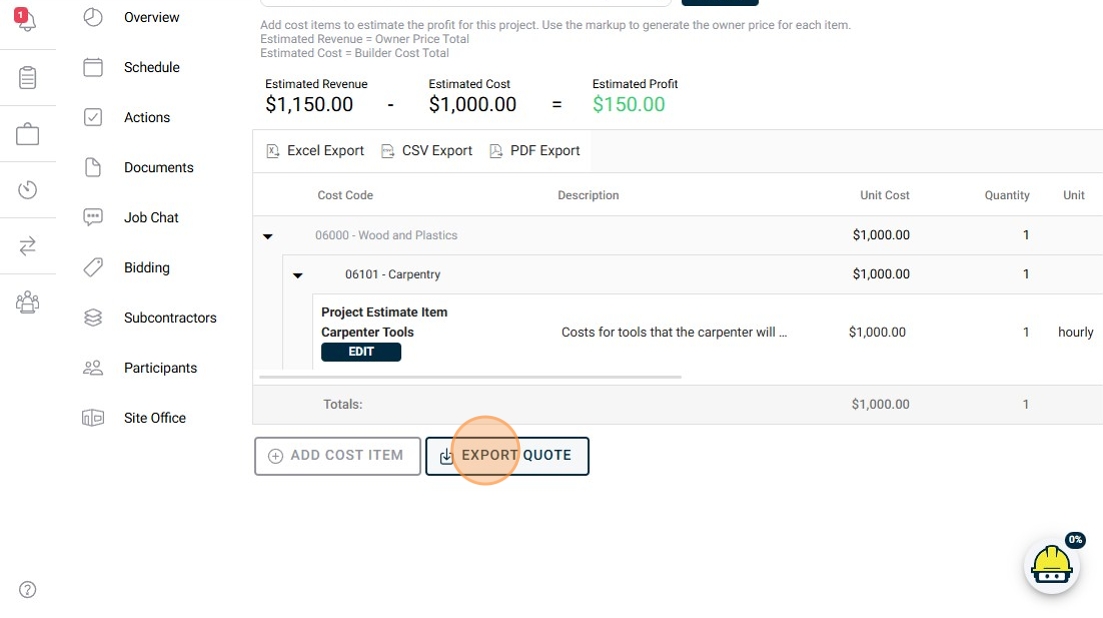
Export the quote. Once all items are added, click Export Quote to generate a document listing your estimate items.
FAQ
What if I can't find the Estimate section? Ensure you're in the Site Office view within a project. If it's missing, check your role permissions or contact support.
Can I add custom cost codes? Yes, you can import or create custom cost codes during the "Add Cost Item" process if the desired code isn't listed.
How do I delete an estimate item? Navigate to the estimate, select the item, and use the delete option in the edit menu.
What happens if I change the markup type? Switching between percentage and fixed amount will recalculate the total cost automatically based on the new markup.
Is there a limit to the number of estimates per project? No, you can create multiple estimates for comparison or different scenarios within the same project.
Related Articles
Metadata
Relevant Roles: Builder, Owner Feature Area: Estimating Article Type: Workflow / Tutorial
Manage your Budget
Summary
Keep track of your project by viewing and managing the project's budget, which is built from estimates, change orders, purchase orders, bills, and time-clocked labor. This tutorial guides you through accessing the budget, marking items as paid, and exporting reports.
Prerequisites
- An active BuilderPal account.
- A project with existing budget items (e.g., estimates or time entries).
Steps
-

Access the project budget. Navigate to https://app.builderpal.com, select your project (e.g., "Middleschool Staircase Renovation"), click Site Office, then click Budget.
-

Review and mark budget items as paid. View the project budget overview. For items linked to bills, purchase orders, or time clock labor, click View Source on the item, verify details, and click Mark as Paid.
-
Export the budget report. Select your preferred format: Excel, CSV, or PDF.

Confirmation
The budget item status updates to paid, and the overall budget reflects the change in real-time.
FAQ
Why can't I mark certain items as paid?
Only budget items tied to bills, purchase orders, or time clock labor can be marked as paid directly. Edit the source document for other items.
How does the budget update automatically?
The budget aggregates data from linked sources like estimates and change orders. Changes in those documents reflect immediately in the budget view.
What if the exported file doesn't include all data?
Ensure all filters are cleared in the budget view before exporting. If issues persist, refresh the page or check your internet connection.
Can I customize the budget categories?
Budget categories are derived from project sources. To customize, adjust categories in estimates or other originating documents.
What happens if I mark an item as paid by mistake?
You can revert by viewing the source and unmarking it, but this may affect reporting—review carefully before confirming.
Related Articles
Metadata
Relevant Roles: Project Manager, Site Supervisor
Feature Area: Site Office - Budget
Article Type: Workflow / Tutorial
How to Create a Bill
Summary
This tutorial covers how to create and manage bills in BuilderPal to record vendor invoices, match them to purchase orders, and integrate with project financials for accurate accounting and payments.
Prerequisites
- Role or permission needed
- An active project set up in BuilderPal
- Vendor invoice details or a related purchase order ready
Steps
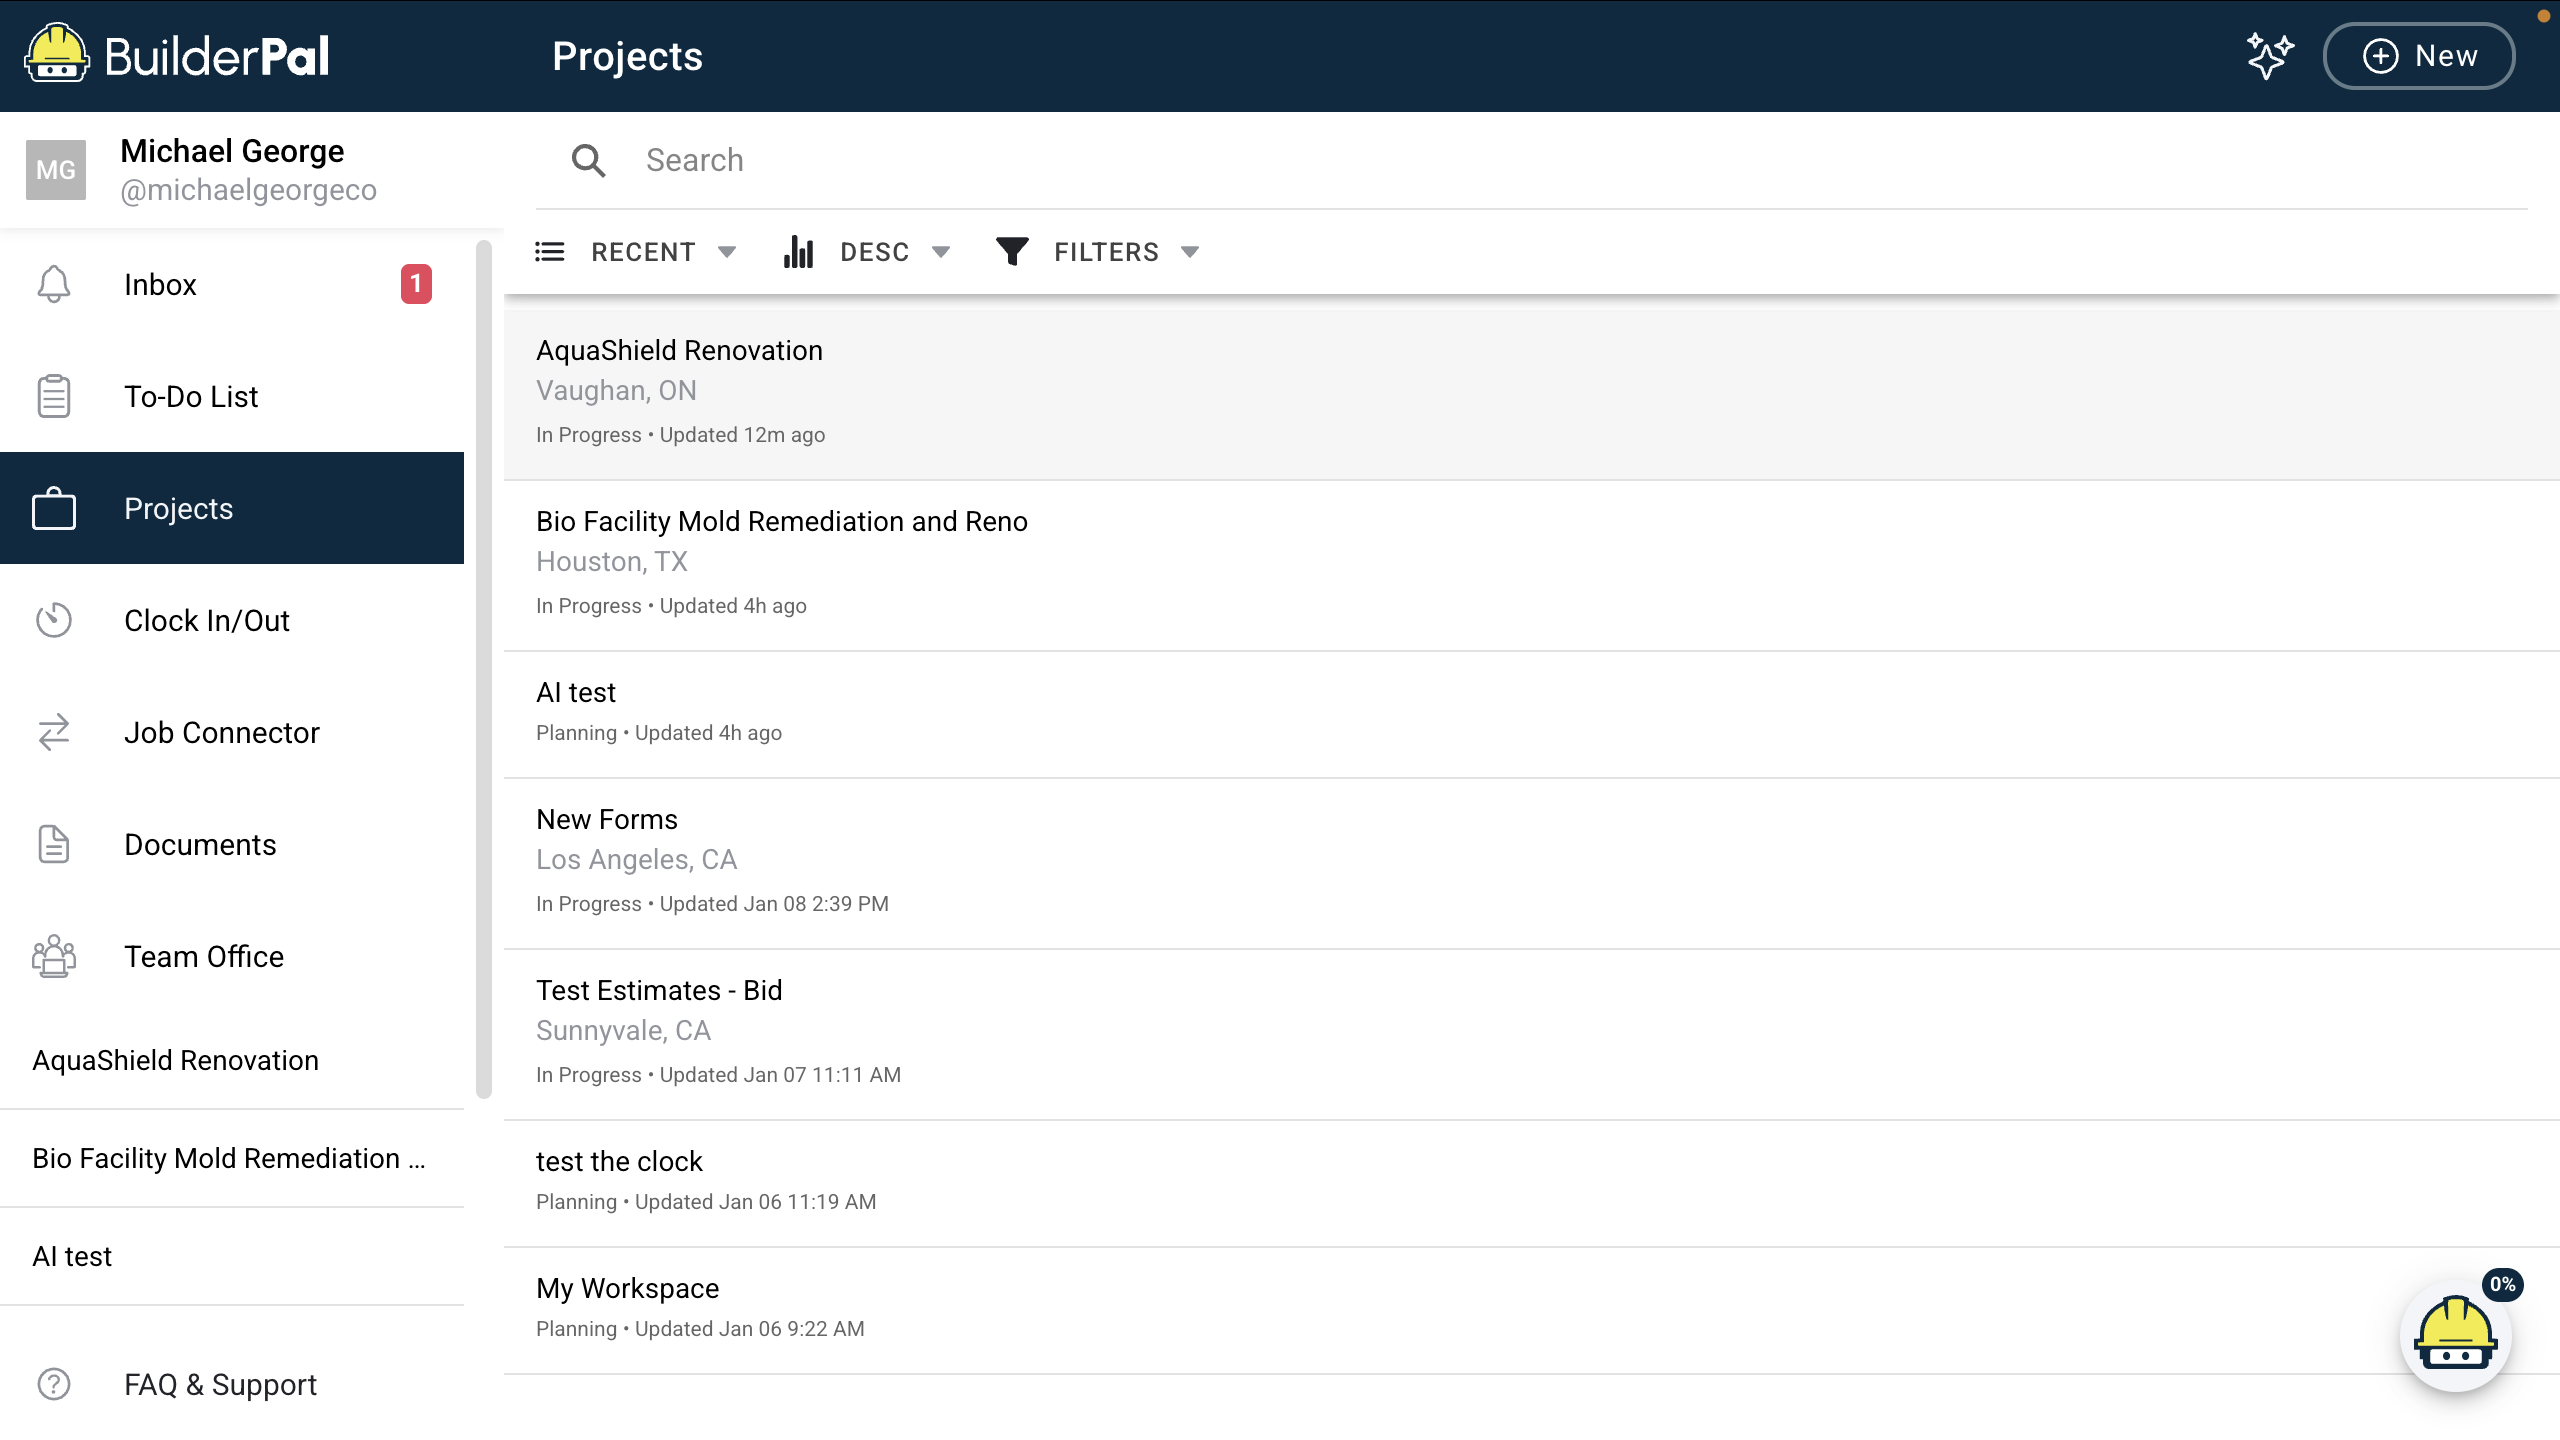
There are two ways to create a bill in BuilderPal: from the project overview or from the Actions tab.
Method 1: From the Project Overview
-
Log in to BuilderPal and select your project. — Open the BuilderPal app, enter your credentials, and choose the project from the dashboard.

-
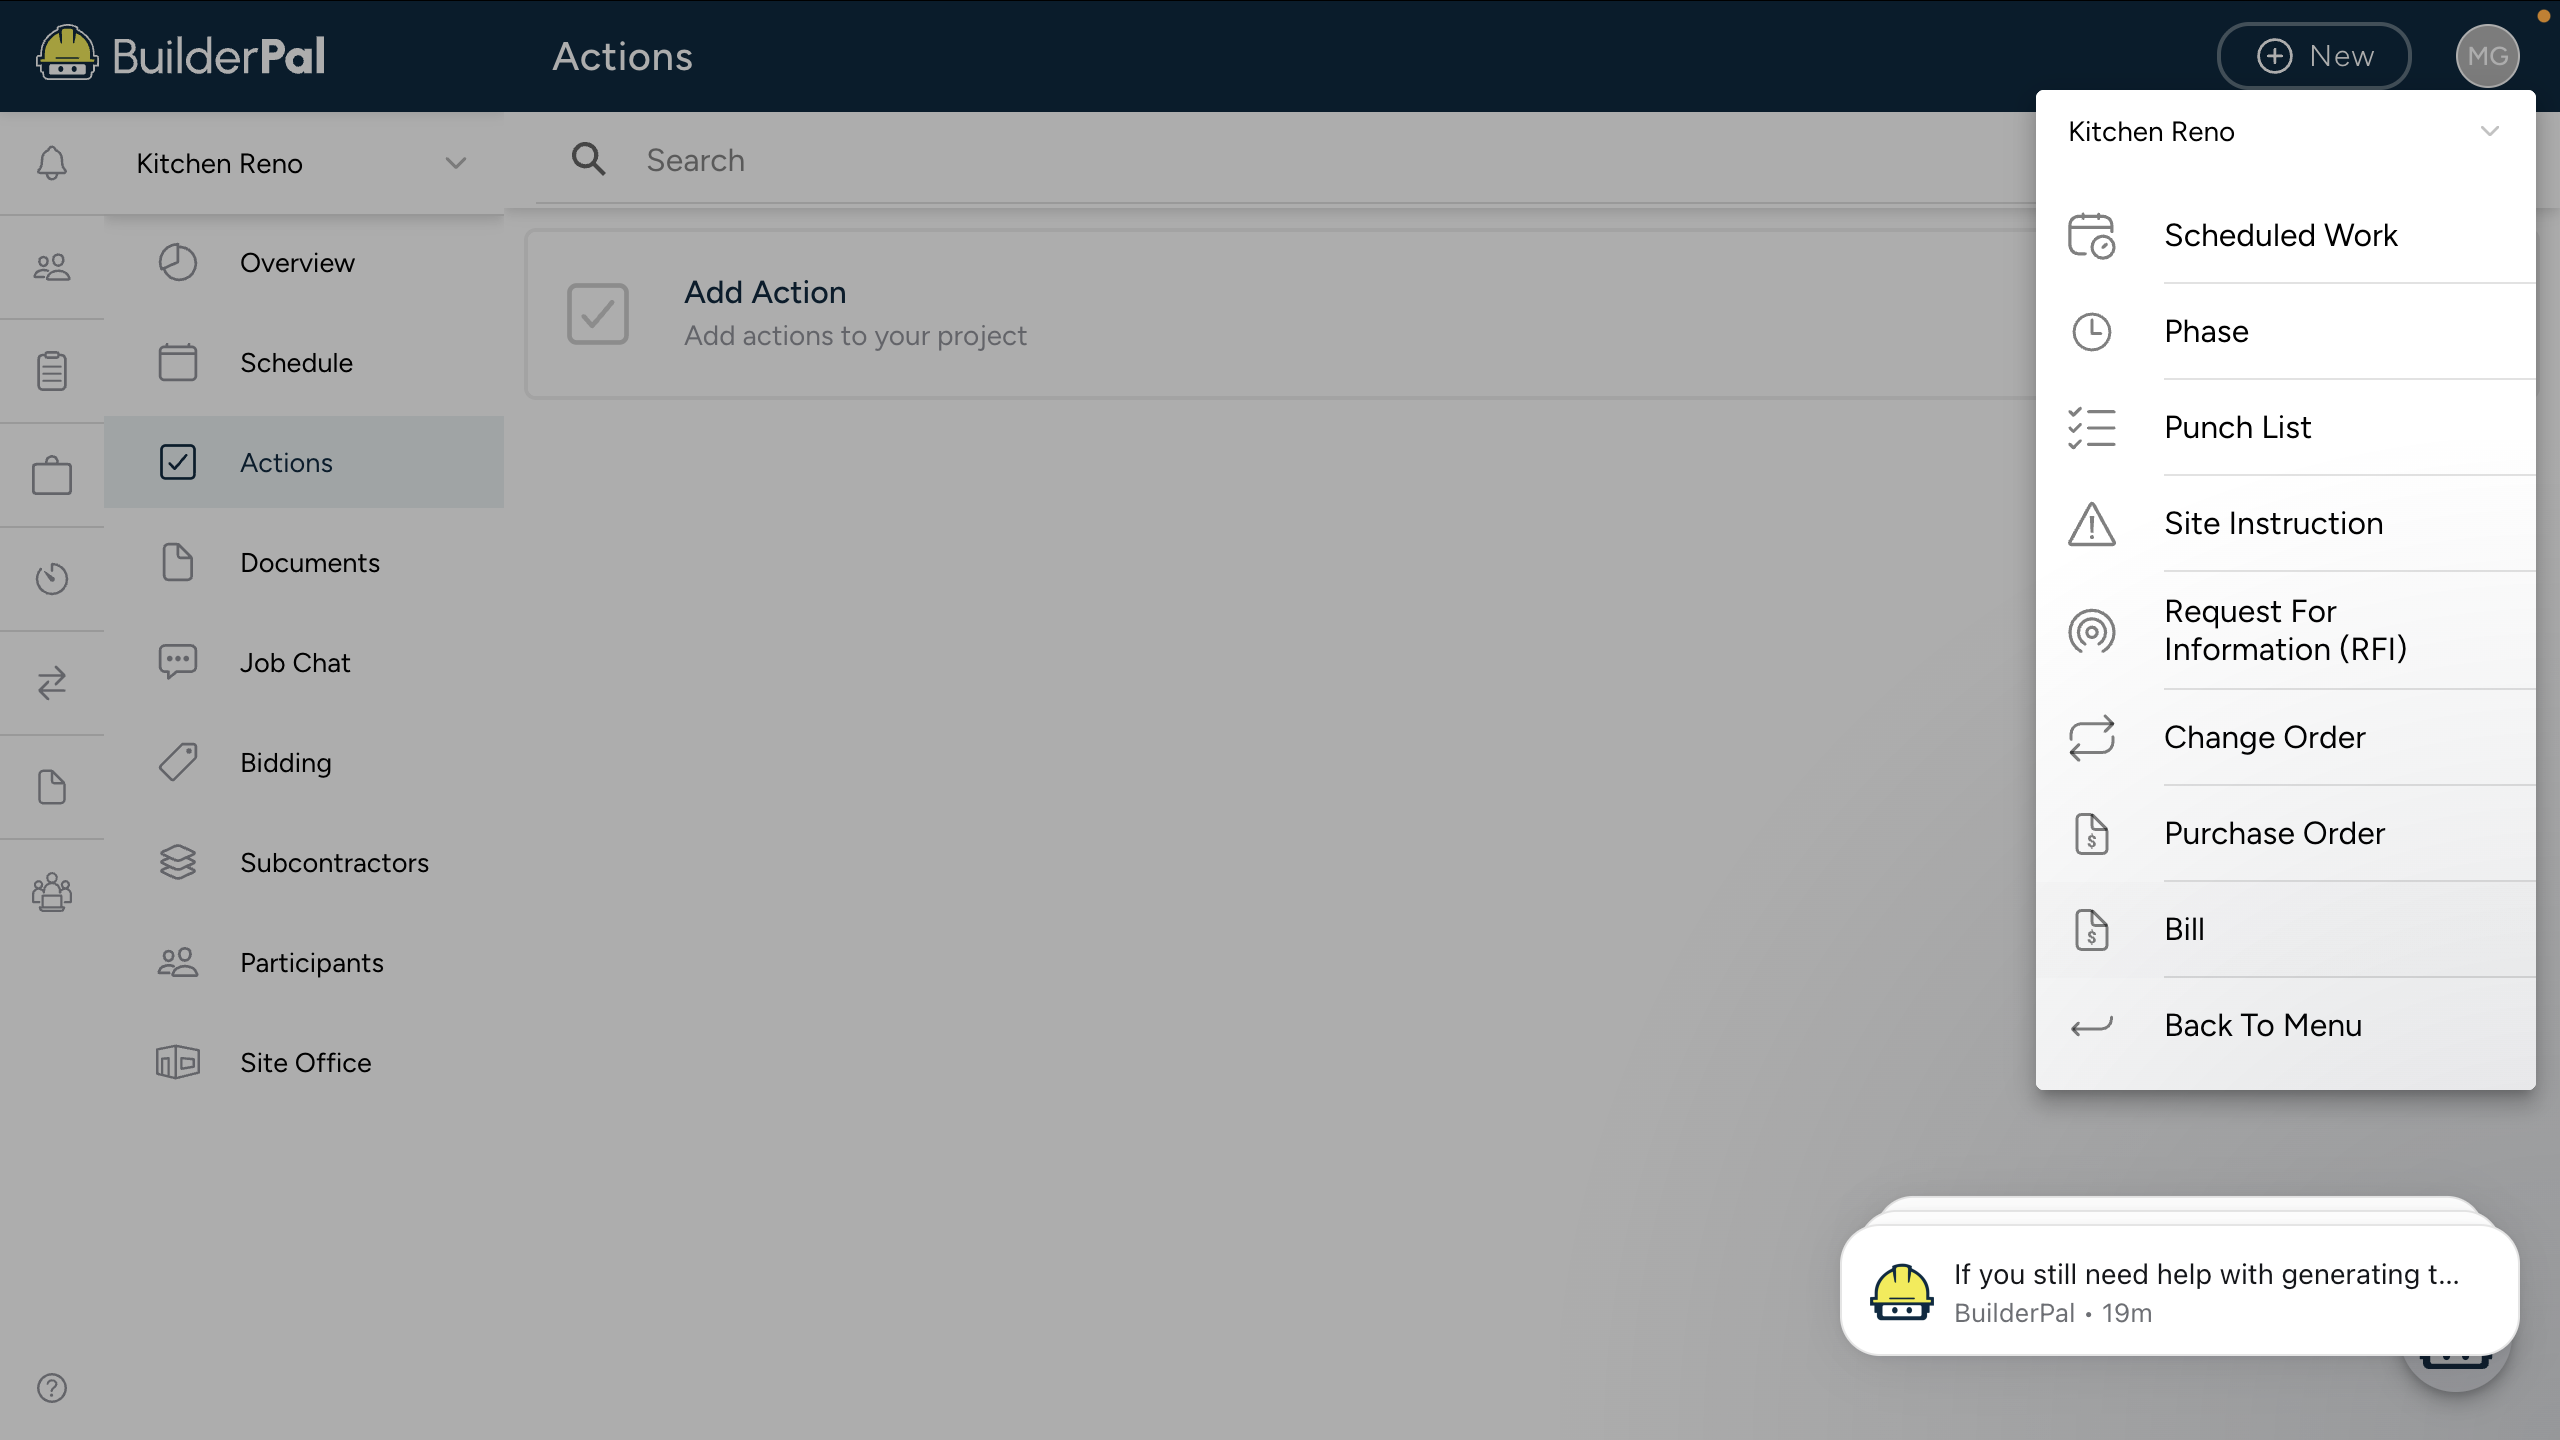
Access the project menu. — In the project overview screen, locate the dropdown menu next to the project name in the top right corner.
Select Actions. — In the dropdown menu, select Actions
-
Select Bill. — Click on Bill from the dropdown options to open the bill creation interface.

Method 2: From the Actions Tab
Confirmation
You'll know it worked when the bill appears in the Actions overview, and approvers or payees receive notifications.
FAQ
Q: What fields are required for a bill? A: Vendor, bill number, date, amount, and line items with cost codes for budget tracking.
Q: Can bills be matched to purchase orders automatically? A: Yes, if a PO exists for the vendor, BuilderPal suggests matching during creation.
Q: How do I handle partial payments on bills? A: After approval, update the bill status with payment details or create linked payment records.
Q: What if a bill needs approval? A: Assign approvers based on roles; they receive notifications to review and approve/reject.
Q: Are bills integrated with accounting exports? A: Yes, approved bills can be exported to QuickBooks or other systems via integrations.