How to Use the Project Schedule in BuilderPal
How to Use the Project Schedule in BuilderPal
Summary
This tutorial covers how to access and utilize the Project Schedule in BuilderPal, including viewing tasks in calendar or Gantt format, filtering by phase, and printing/exporting. It helps team members monitor deadlines and plan work within a specific project.
Prerequisites
● Role or permission needed: Any team member with access to the project (e.g., Admin GC, Team Project Manager, Team Member).
● Any setup required: Log in to your BuilderPal account and open a project.
Steps
-
Open the Project Schedule (clear action)
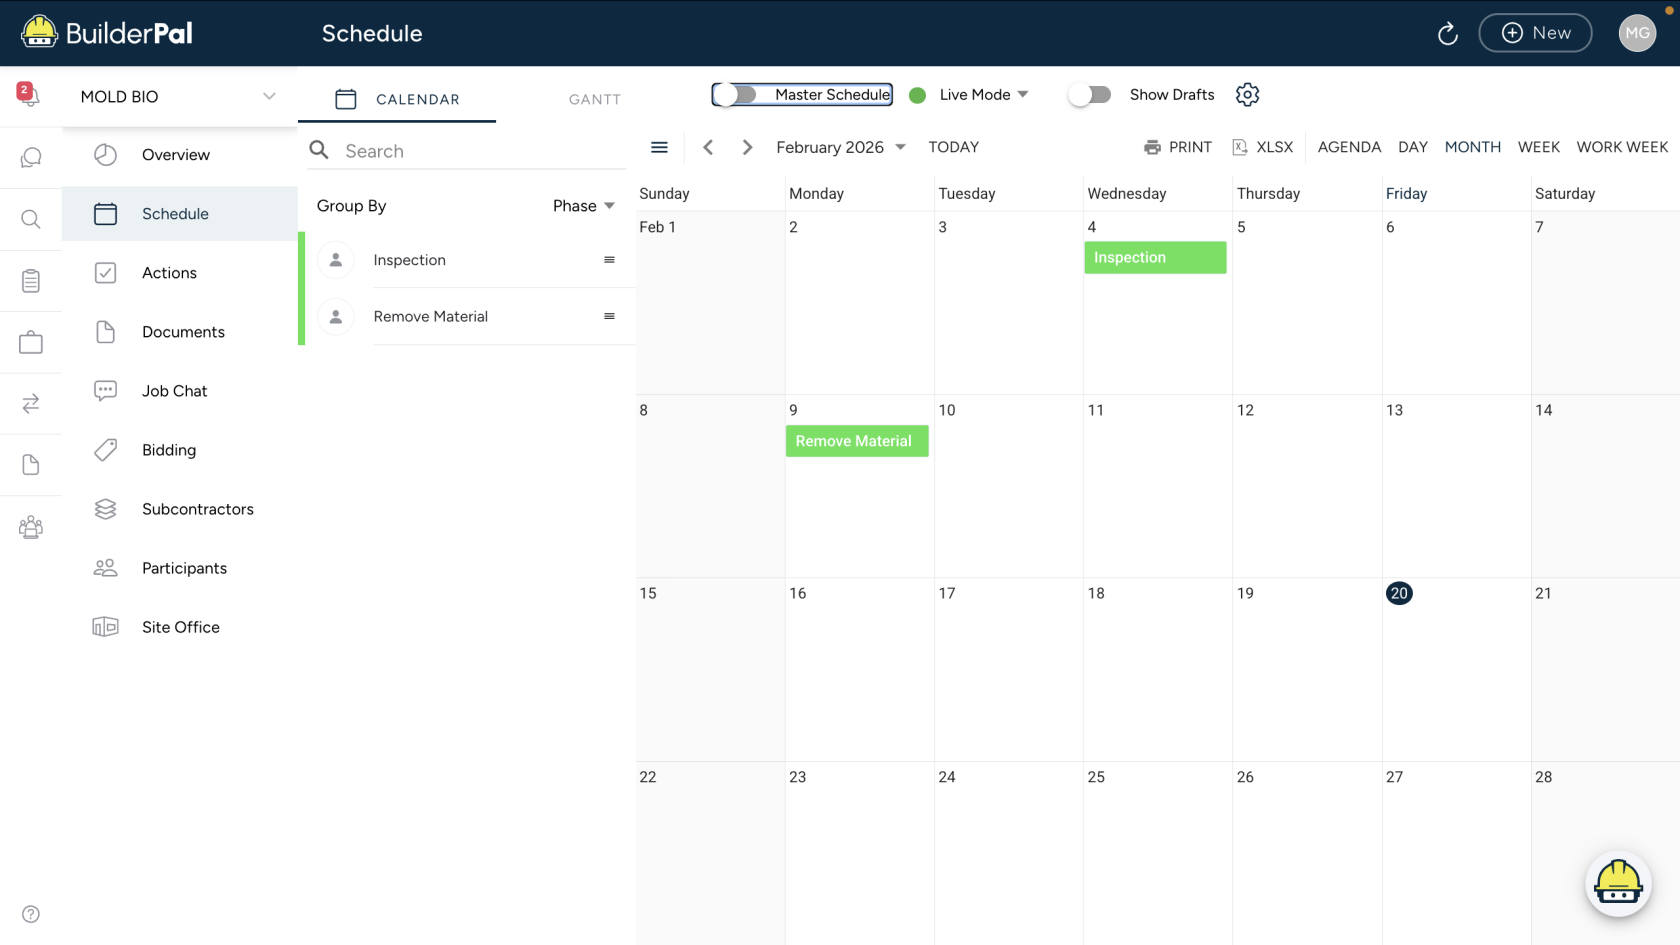
○ Instruction: Inside a project, click Schedule in the left sidebar to view the project's tasks and deadlines.
○ Screenshot: Insert immediately after the step to show the UI.
-
Switch Between Views
○ Instruction: Use the tabs at the top to switch between Calendar and Gantt views; select time periods like DAY, MONTH, or WEEK.
○ Screenshot: Only if not obvious.
-
Filter and Group Tasks
○ Instruction: Click Group By (e.g., Phase) to organize tasks; use Search or filters like Assigned Only to narrow down.
○ Screenshot: Only if not obvious.
-
View or Add Tasks
○ Instruction: Click on any task (e.g., "Inspection" or "Remove Material") to open details; use + New to add new scheduled actions.
○ Screenshot: Only if not obvious.
-
Print or Export the Schedule
○ Instruction: Click PRINT, XLSX, or other options at the top to export or print the schedule.
○ Screenshot: Only if not obvious.

Confirmation
“You’ll know it worked when the schedule loads with your project's tasks displayed in the chosen view, grouped by phase, with due dates and status visible.”
Tips
● Pro tip or best practice: Group by Phase to see the project lifecycle at a glance; use Gantt for timeline dependencies.
● Shortcut or time saver: Switch to Live Mode for real-time updates without refreshing.