Edit Project Details
Summary
Update your project settings, including status, assigned manager, address, and adding actions or documents to a project. This guide will show you how to customize project configurations and attach files as the job progresses.
Prerequisites
- Role or permission needed: Admin (GC), Admin (SUB), Admin (SHORTCUT), Team Project Manager, or Team Business Manager
- Setup required: Log in to BuilderPal and have an active project selected
Steps
-
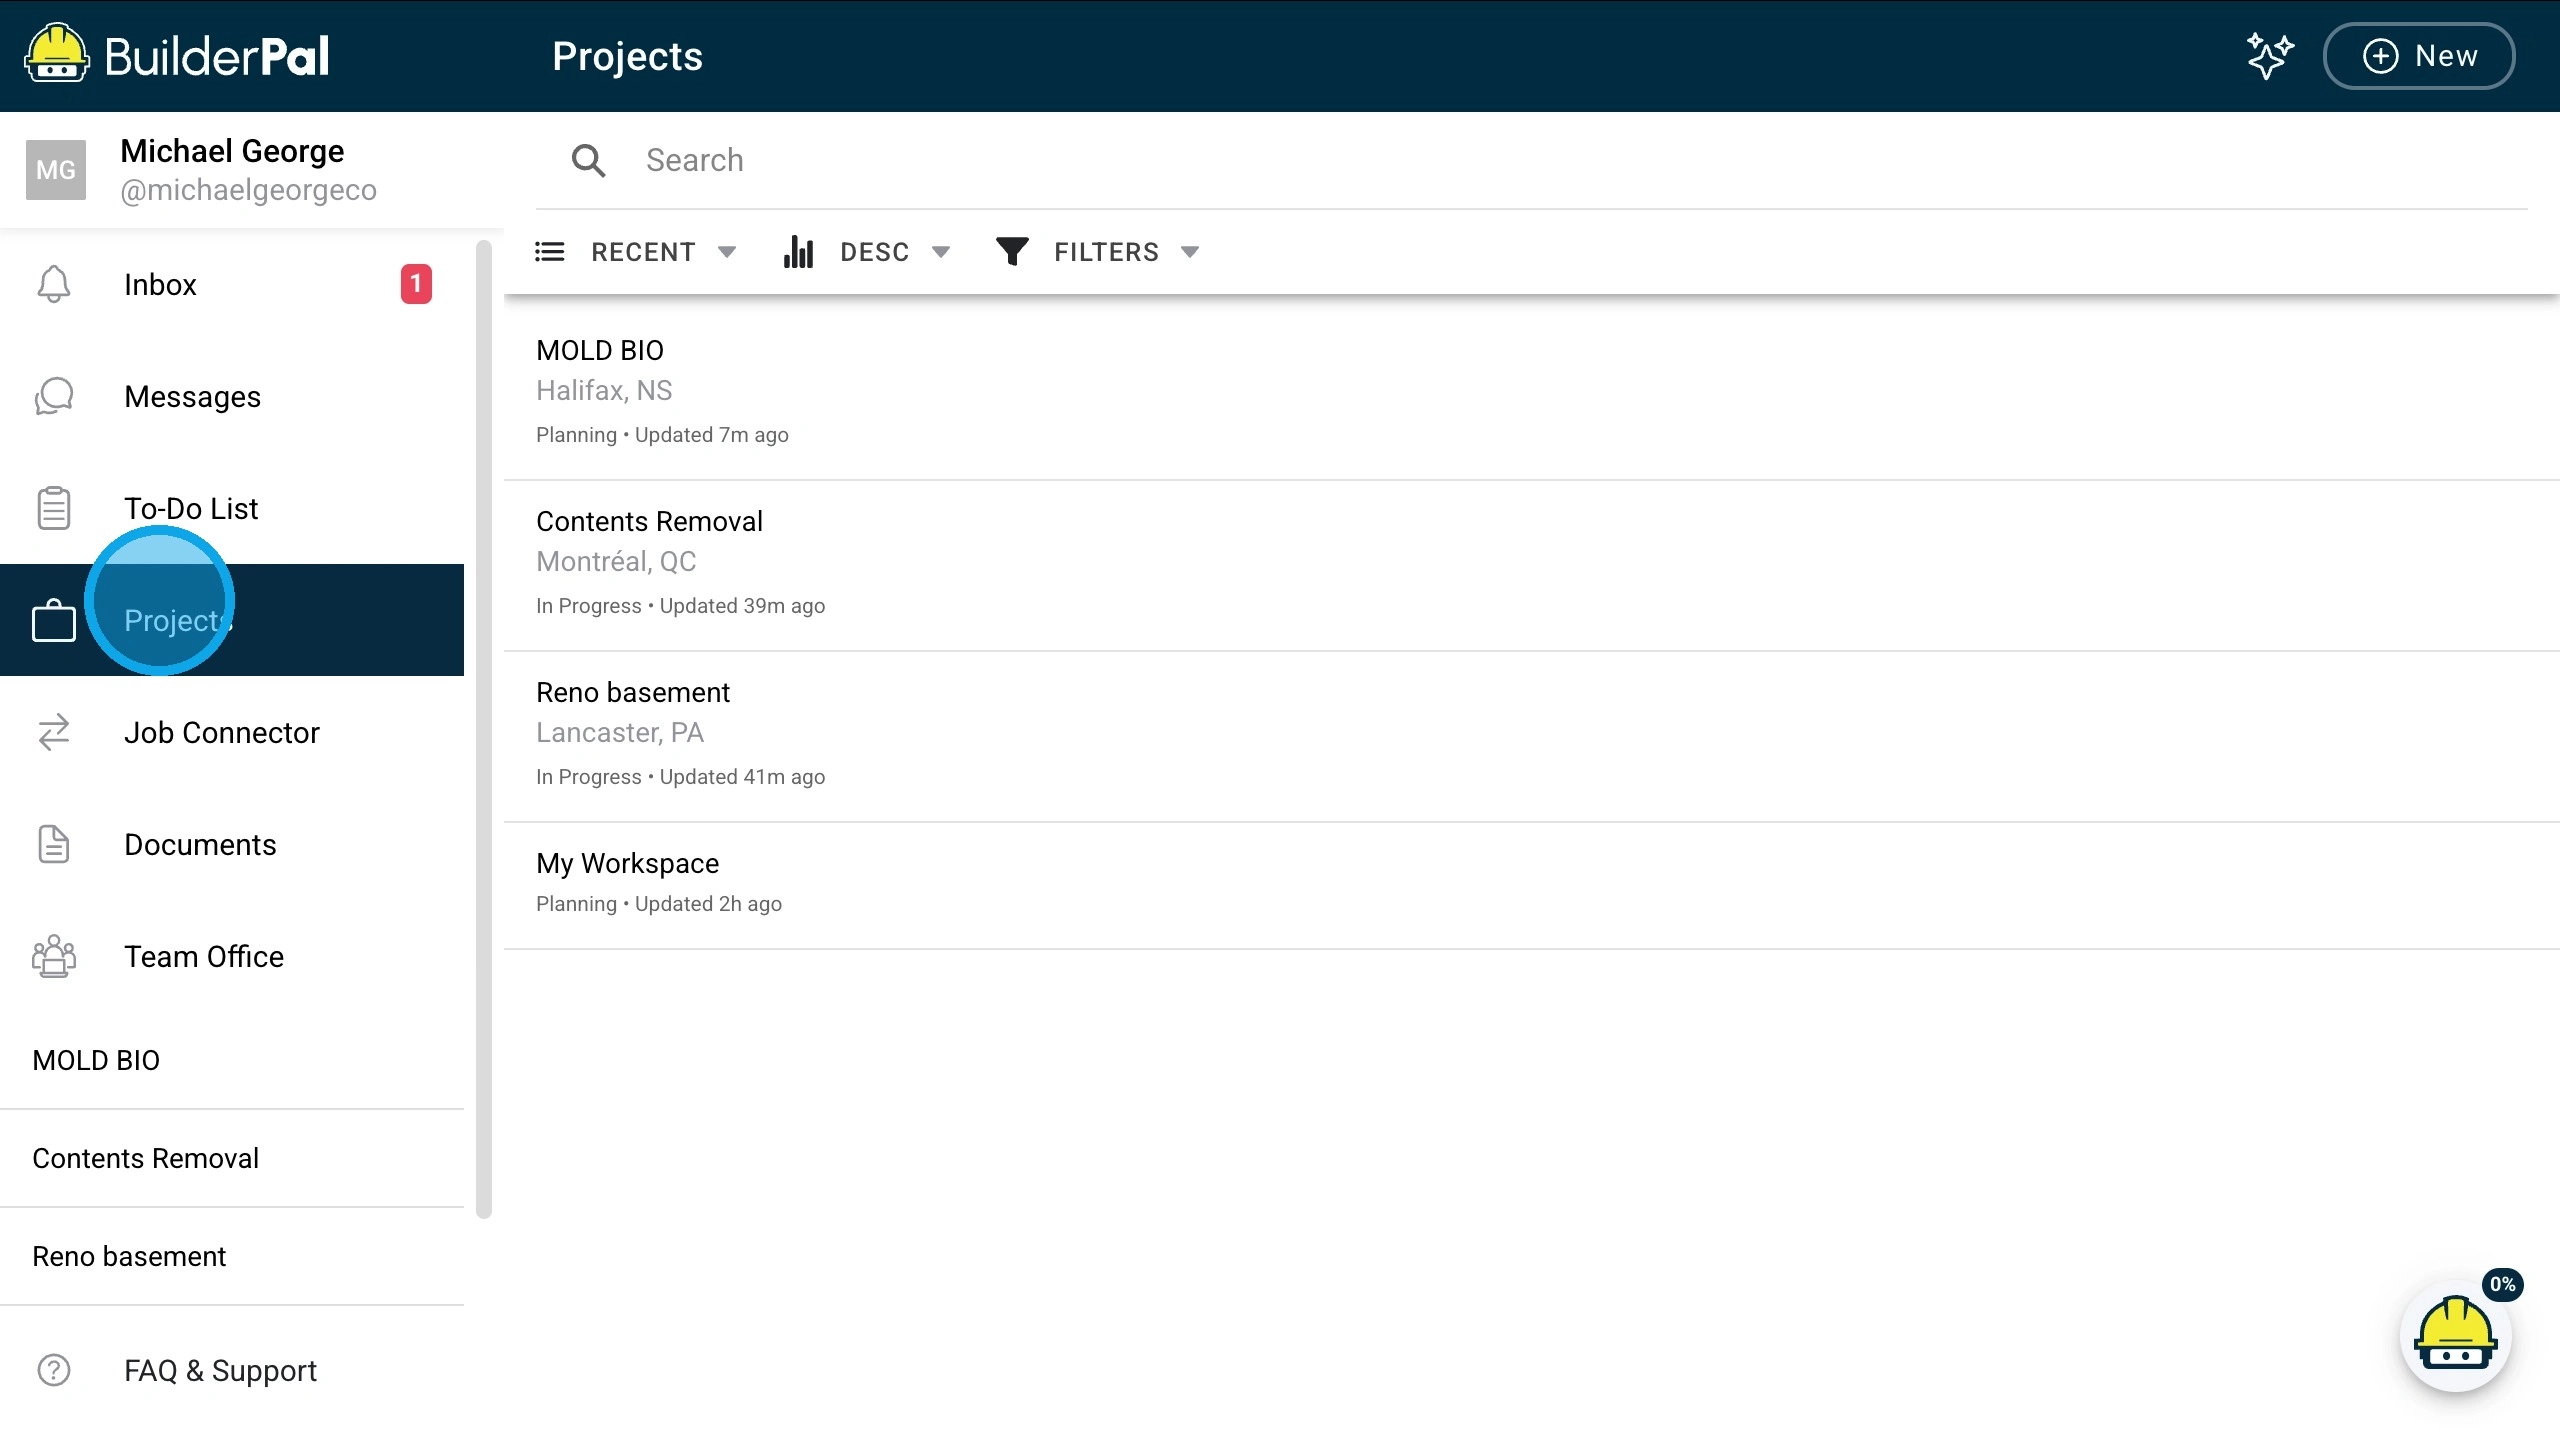
Access the Projects Section and Open a Project
- From the main dashboard, click Projects.
- Select a project from the list
-
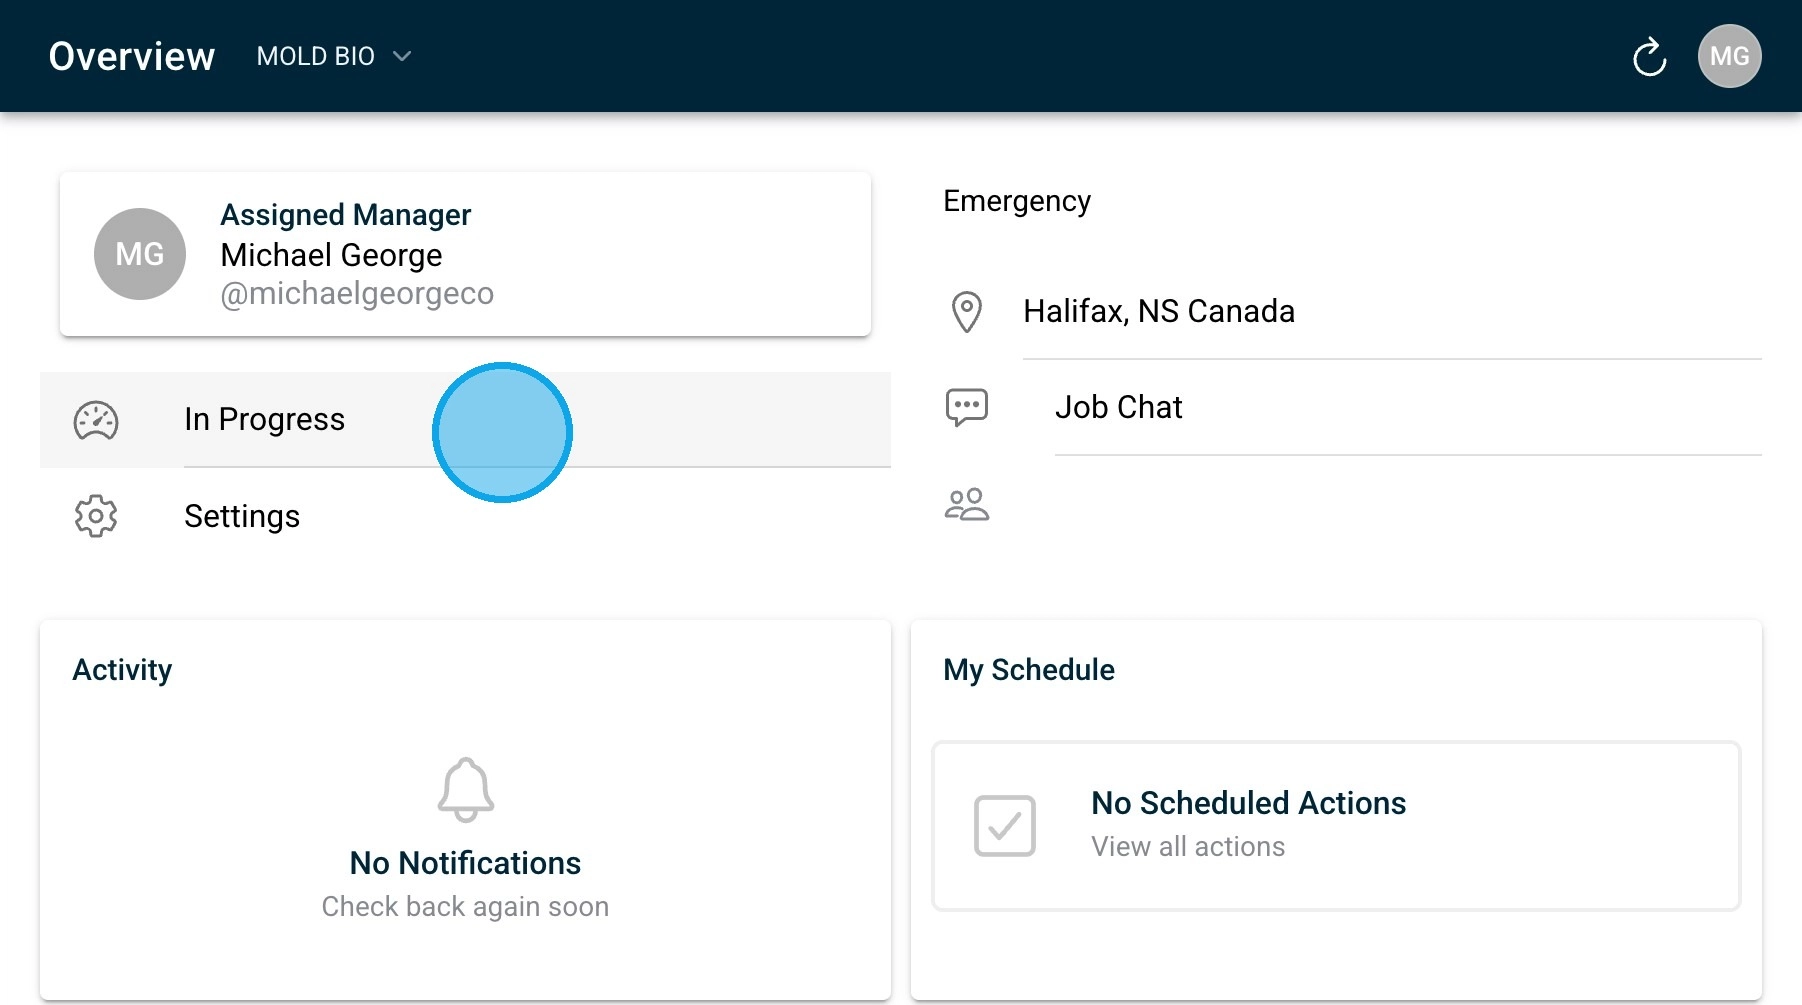
Update Project Status and Assigned Manager
- Click the current project status (e.g., In Progress).
- Select a new status (e.g., Planning).
- Click Assigned Manager.
- Select a manager (e.g., Porter Dietrich).
- Click Settings.
- Update the manager role as needed (e.g., Team Administrator).
- Click Save to apply the updates.
-
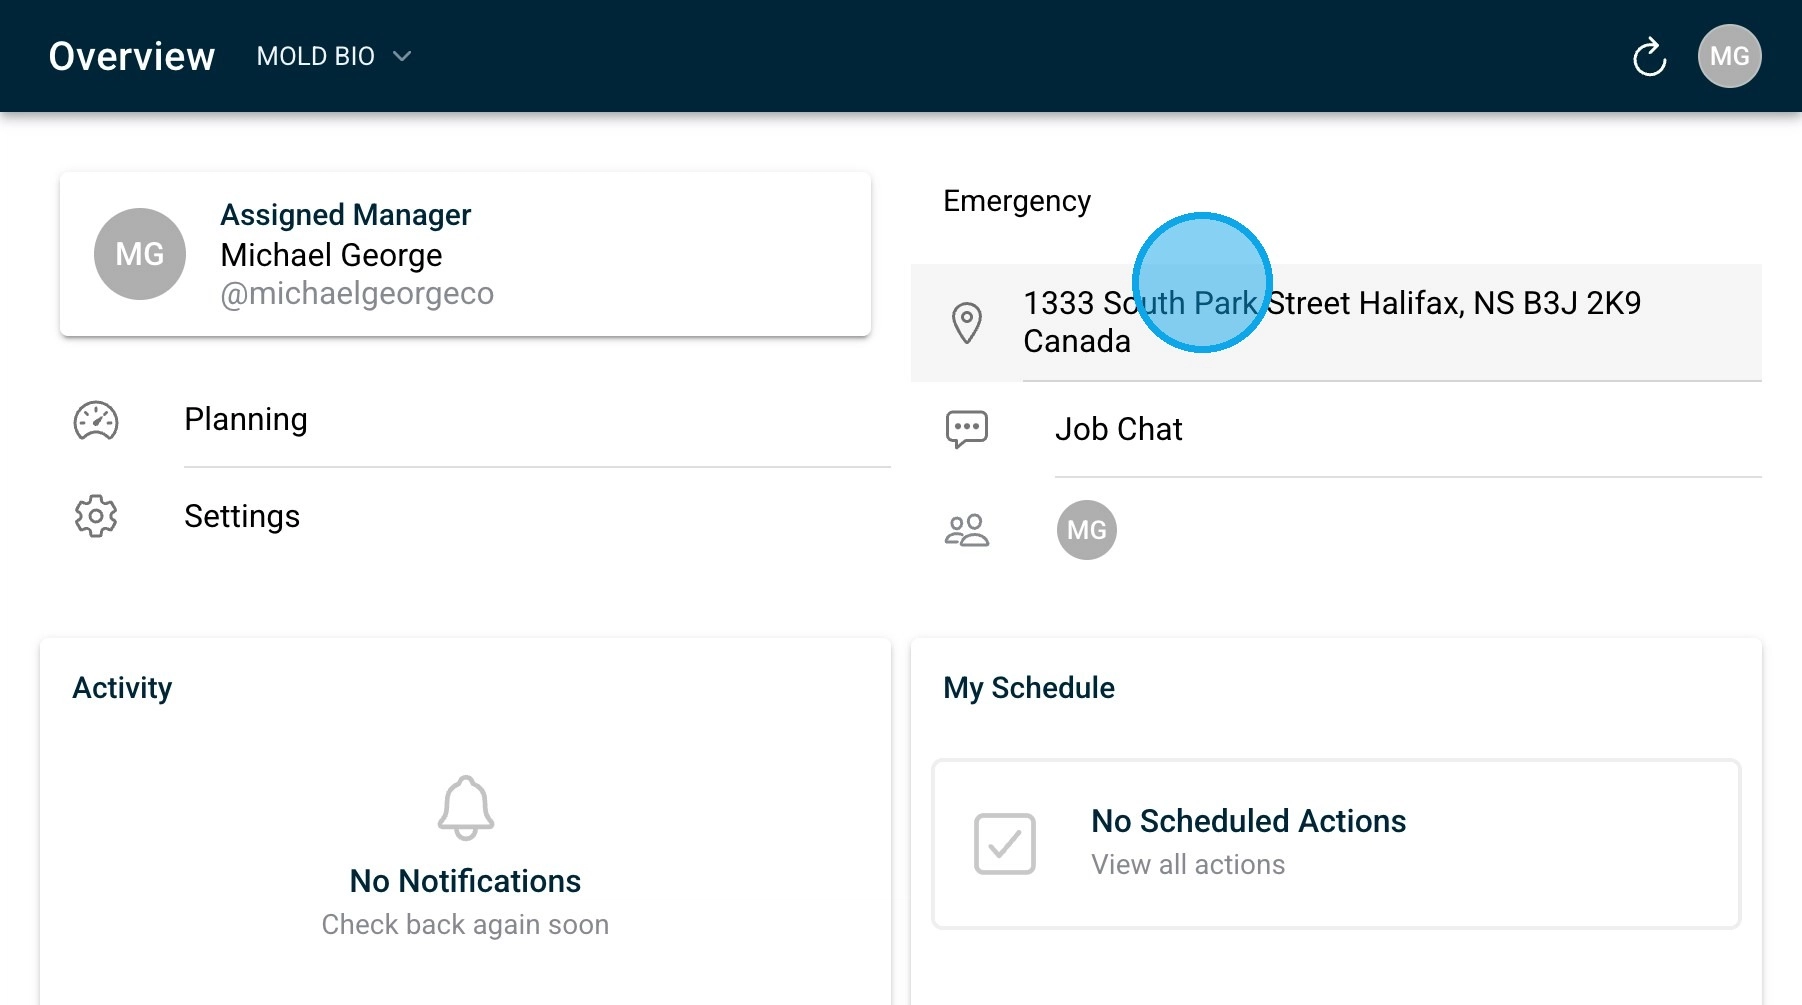
Edit the Project Address
- Click the project address (e.g., 1333 South Park Street, Halifax, NS B3J 2K9 Canada).
- Click Save to apply changes.
-
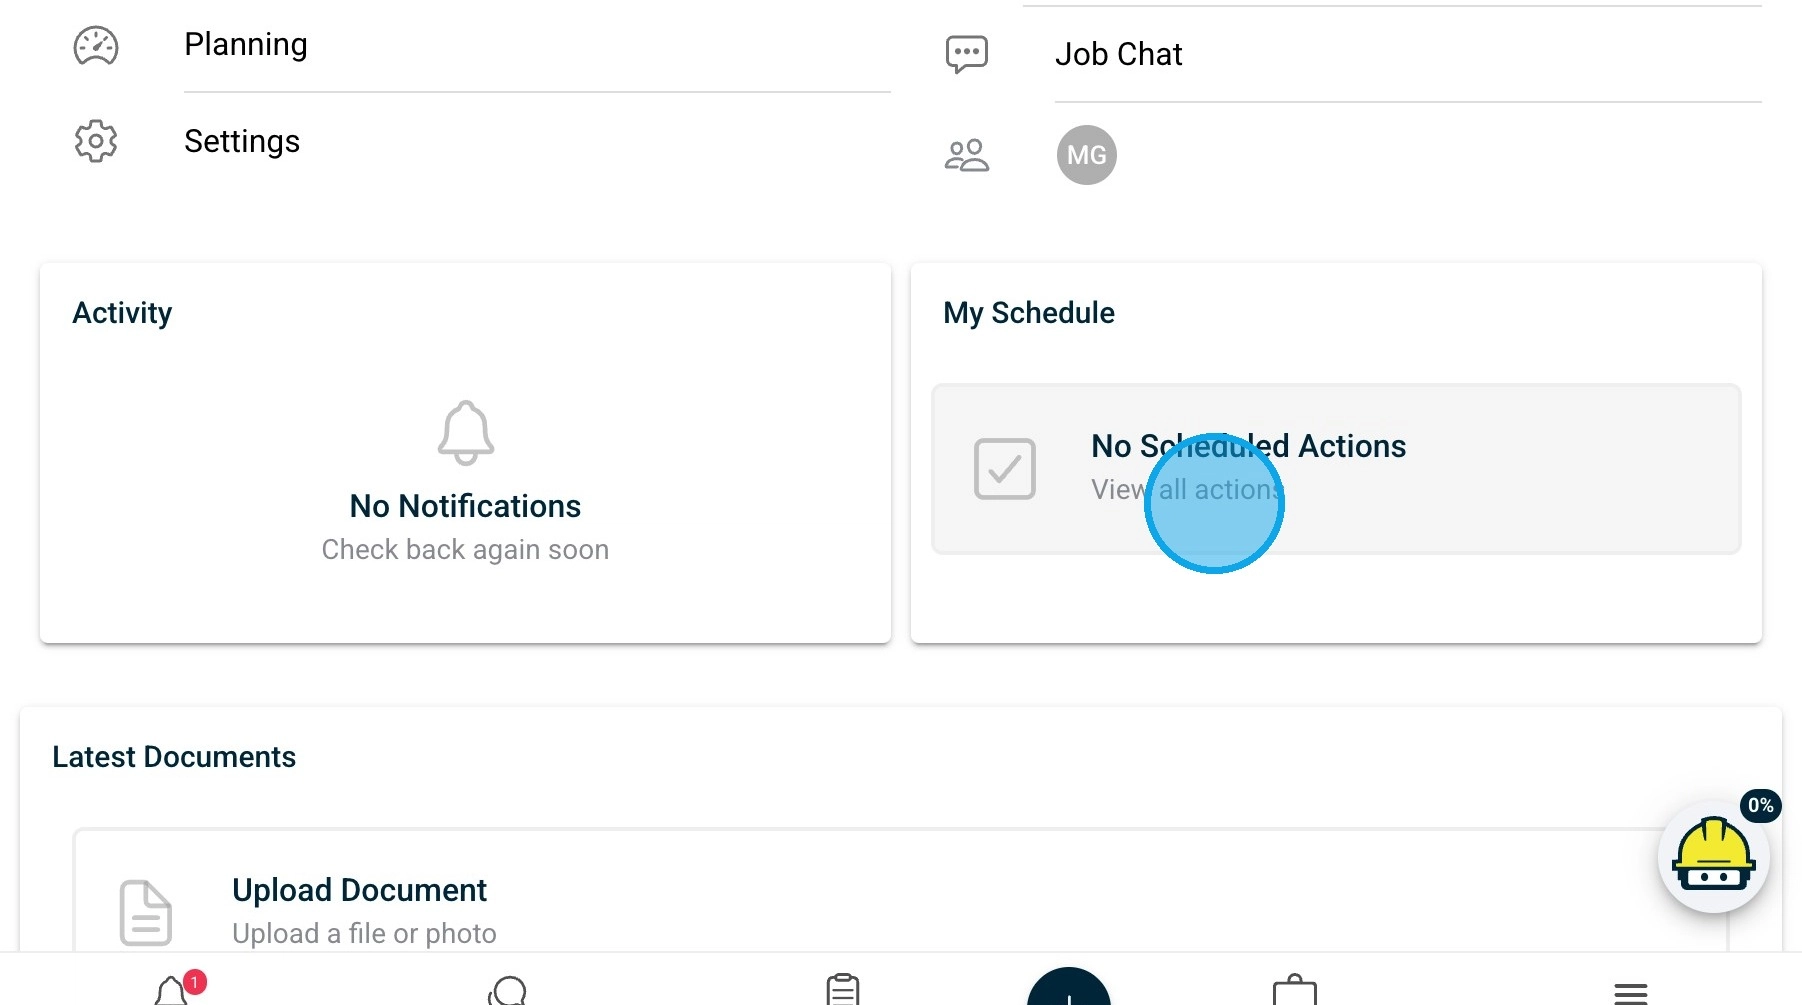
Add an Action
- Click View all actions.
- Click Add actions to your project.
- Select Scheduled Work.
-
Upload a Project Document
- Click Upload Document.
- Select Add file from project documents.
- Confirm to attach the document.

Tips
- Pro tip: Update notification settings in Settings to control email alerts for changes such as new actions or uploaded documents.
- Time saver: Use Job Chat to add actions and documents without navigating multiple menus.