Create Your First Project
Summary
This tutorial guides you through the process of creating your first project in BuilderPal, allowing you to organize work, assign team members, and set visibility options for collaboration.
How-To Video
Prerequisites
- An active BuilderPal account with Admin or equivalent permissions.
- Project details such as name, description, and address ready.
Steps
-
Navigate to https://app.builderpal.com/notifications.

-
Click "Projects".

-
Click "Get started by creating a new project".

-
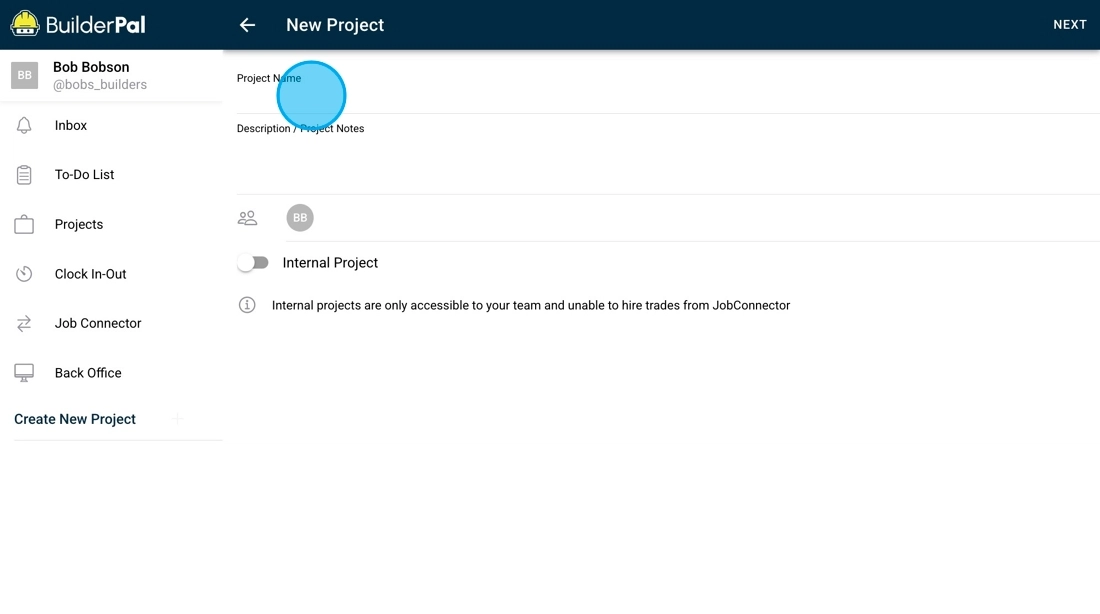
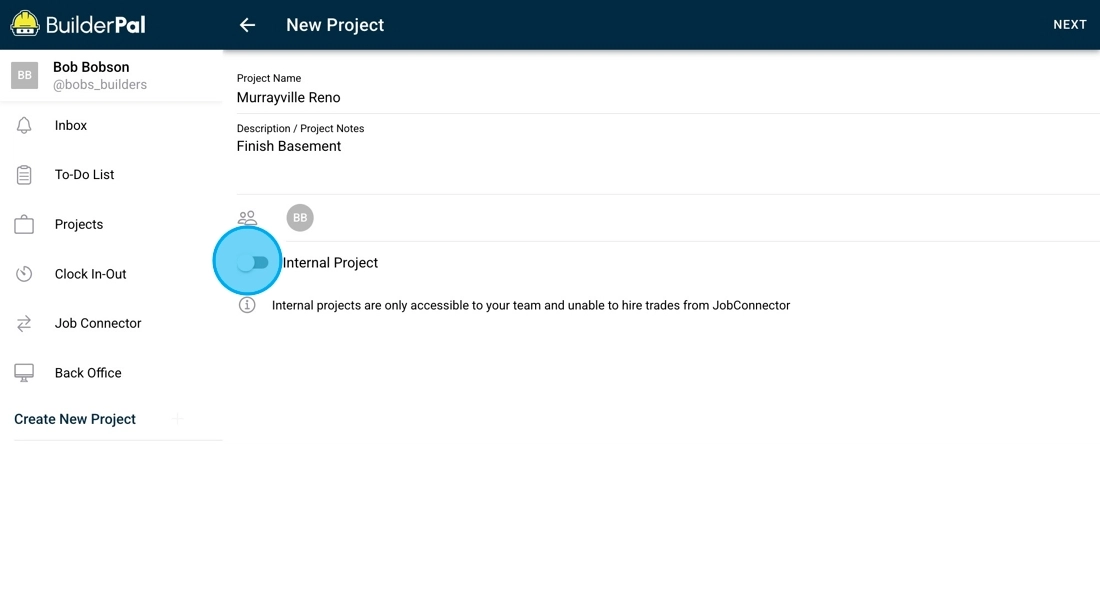
Enter your project name, fill in the "Description / Project Notes" field, and add participants if needed.
-
Decide if your project is internal or accessible to hired trades, then click "Next".
-
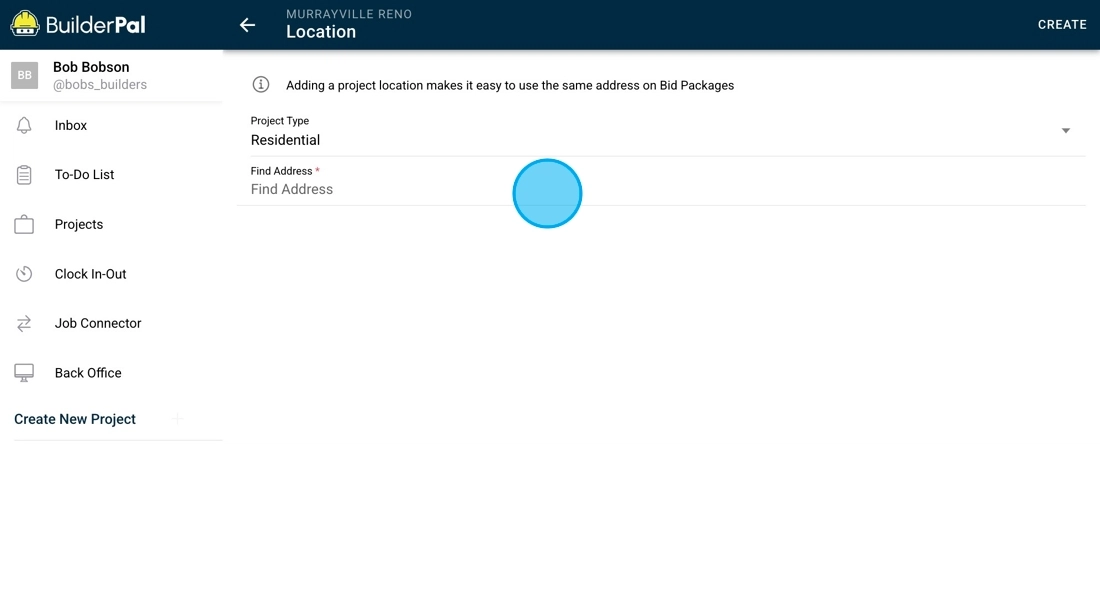
Enter the project address, then click "Create".
Confirmation
Your new project has been created successfully, and you will be redirected to the project dashboard where you can begin adding actions, schedules, or more details.
FAQ
Can I add participants after creating the project?
Yes, you can manage participants at any time from the project settings or participants section.
What does "internal or accessible to hired trades" mean?
Internal projects are visible only to your team; accessible projects allow invited subcontractors or trades to view and collaborate on relevant details.
Is the project address required?
Yes, it helps with geo-features like mapping and clock-in validation, but you can edit it later if needed.
What if I don't have participants to add yet?
Adding participants is optional during creation; you can skip and invite them later via the project dashboard.
Can I create multiple projects at once?
No, projects are created one at a time, but you can quickly repeat the process for additional ones.