Create Groups
Summary
This tutorial guides you through creating a group in BuilderPal to organize your team members efficiently. Groups enable quick tagging for assignments, communications, and permissions across projects, helping streamline collaboration and task management for larger teams.
Prerequisites
- Access to the Company Back Office (available to Admins and select team roles).
- At least one team member added to your company.
Steps
-
Navigate to the Groups page. Go to https://app.builderpal.com/company-back-office and select Groups from the Team & Company Settings section.
-
Start creating a group. Click Create Group or the plus icon in the top right corner to open the group setup dialog.

-
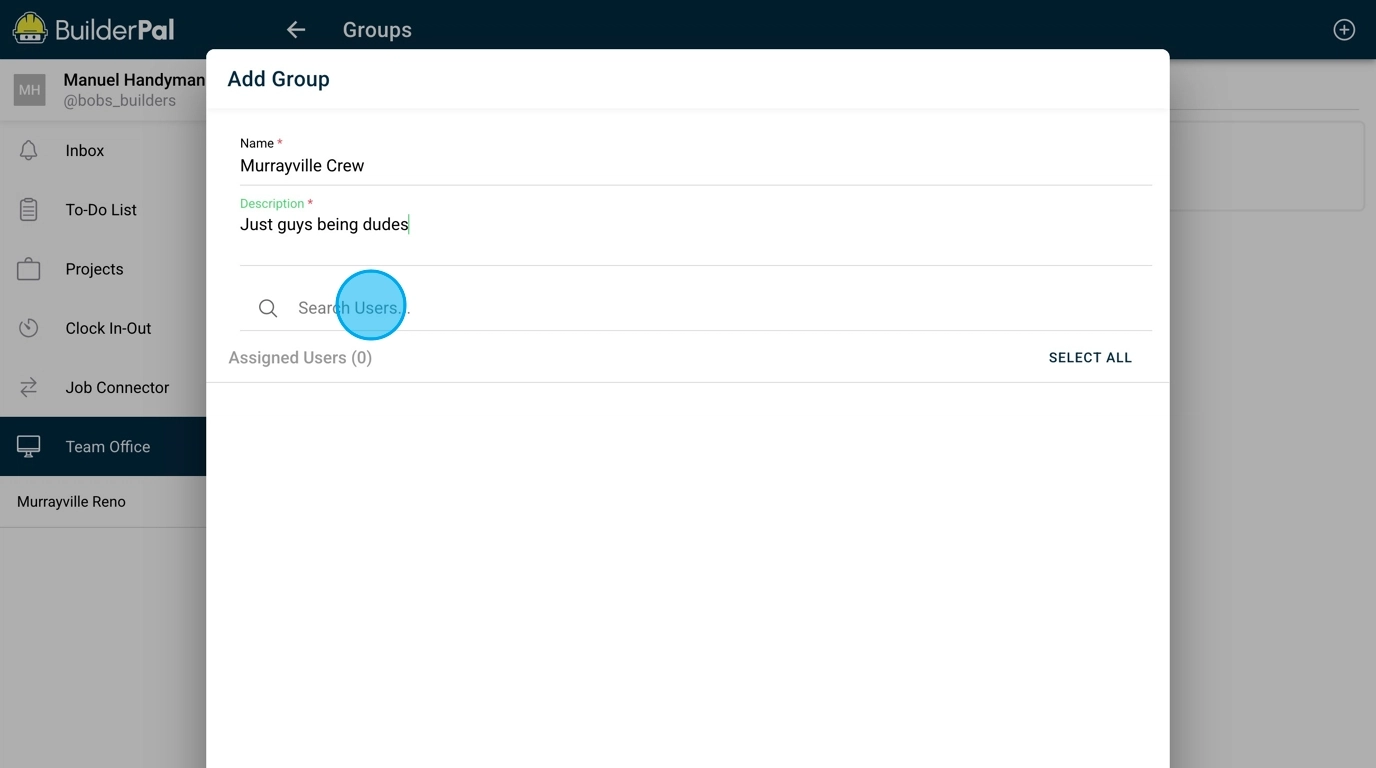
Set up group details and add members. Enter a name and description for the group, then use the search bar to select and add users; click Save to confirm.
-
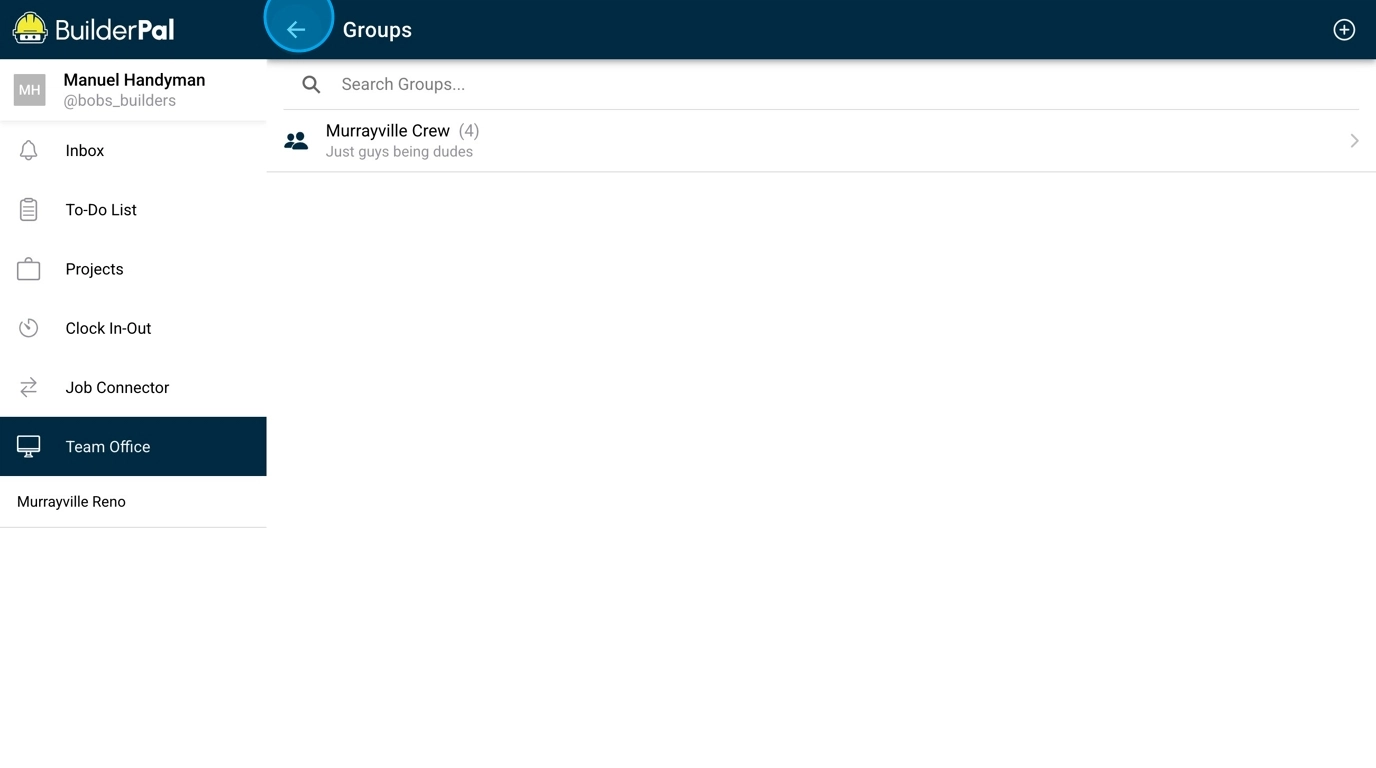
Review the new group. Verify the group appears in your list, with members now tagged for easy reference.
Confirmation
You can now view your group and group members will receive a tag.
FAQ
Q: Who can create groups in BuilderPal?
A: Admins (GC, SUB, SHORTCUT) and roles like Team Project Manager, Team Finance Manager, and Team Business Manager have access via Company Back Office.
Q: Can I add users who aren't yet team members?
A: No, the search bar only shows existing team members; add them first using the Create Team Members workflow.
Q: What happens if I don't add a description?
A: The group will still save, but a description helps clarify its purpose for other users viewing the group list.
Q: How do groups affect permissions?
A: Groups simplify tagging but don't directly set permissions; manage those separately in Team Member Permissions.
Q: Can I use groups across projects?
A: Yes, groups are company-wide and can be tagged in any project for assignments or mentions.
Related Articles
- Create Team Members
- Team Member Permissions
- Manage Contacts
- Edit Company Profile
- Time-tracking & Kiosk App Control Center